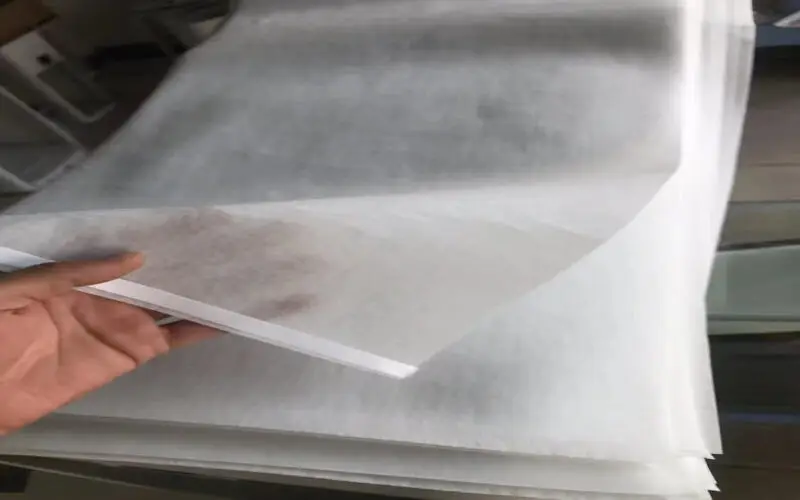
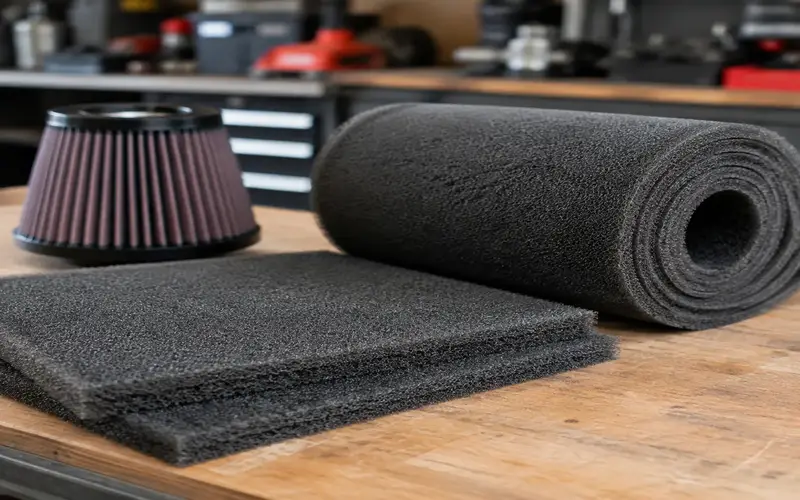
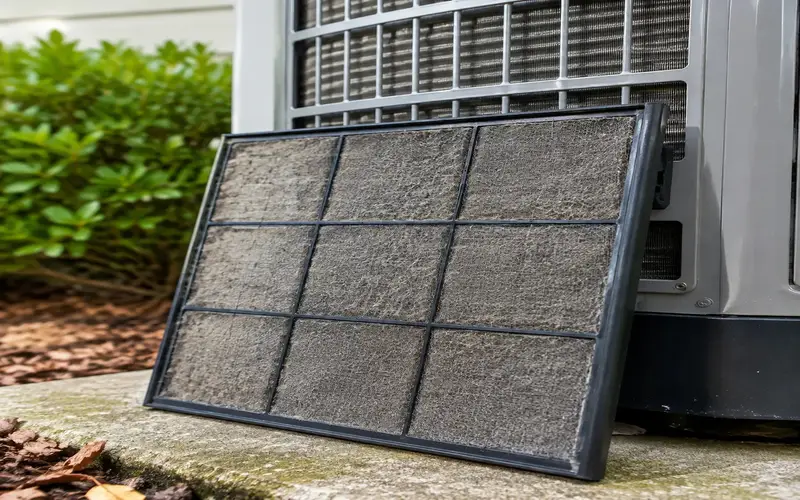
If you want superior engine protection and maximum airflow without paying premium prices for off-the-shelf options, learning how to make a foam air filter material custom build is a total game-changer.
Whether you need a perfect fit for a custom setup or want a reusable filter that outperforms standard paper, choosing the right reticulated foam, selecting the correct PPI (pores per inch) density, and properly oiling your filter are key to keeping dust out and performance high.
In this guide, you’ll learn the exact step-by-step process to measure, cut, bond, and maintain high-performance DIY filters—along with the crucial mistakes to avoid.
Understanding Foam Air Filter Material
What is Reticulated Foam and Why is it Used?
Reticulated foam is an open cell polyurethane foam processed through a specialized thermal or chemical reaction that completely removes cell membranes, leaving behind a 3D skeletal mesh. Standard household foams act as air blocks because closed cells trap air.
As a premium air filter material manufacturer, we utilize reticulated foam because its open-cell network forces incoming air through a tortuous path. Dirt particles hit and stick to the oil-treated foam strands, while clean air flows through with minimal restriction.
Key Specifications: Understanding PPI (Pores Per Inch)
Pores Per Inch (PPI) measures the linear pore density of the polyurethane sheet. Selecting the correct PPI pore count determines the precise balance between engine airflow and particle retention.
| PPI Grade | Density Level | Primary Application |
|---|---|---|
| 10 – 20 PPI | Coarse | Outer pre filter foam, heavy mud and sand conditions |
| 30 – 40 PPI | Medium | Primary custom air filter element, motorcycle filter, small engines |
| 60 – 80 PPI | Fine | Inner stage filter layer, fine dust and silt protection |
Benefits of Foam Air Filters vs. Paper and Cotton
Unlike paper or gauze, premium filter foam relies on depth filtration. Dust particles penetrate deep into the material’s thickness rather than blinding the outer surface.
- 3D Depth Loading: Traps larger volumes of debris without sudden drops in air pressure.
- 100% Washable & Reusable: High structural durability allows repeated cleaning cycles using dedicated filter cleaning solution.
- Superior Moisture Resistance: Water and mud will not cause the filter material to collapse or tear.
| Feature | Reticulated Foam | OEM Factory Paper | Pleated Cotton |
|---|---|---|---|
| Filtration Type | 3D Depth Filtration | 2D Surface Loading | 2D Surface Barrier |
| Moisture Tolerance | Excellent (Hydrophobic) | Poor (Soggy / Restrictive) | Fair |
| Dust Holding Capacity | Maximum | Low | Moderate |
| Service Life | Multi-Year / Reusable | Disposable (Single-Use) | Reusable |
Choosing the Right Foam Material for DIY Air Filters
Building a high-performance filter starts with selecting the right raw foam. Not all foam is created equal, and using the wrong substrate can choke your intake or destroy your engine. When learning how to make a foam air filter material setup for custom builds, understanding substrate structure is your most critical step.
Best Foam Types for DIY Air Filters
For engine air intakes, open cell polyurethane foam—specifically reticulated foam—is the global industry standard. Reticulation removes the cell windows during manufacturing, leaving a 3D skeletal framework that maximizes airflow while holding filter oil to trap dust.
- 30 to 40 PPI Polyurethane Sheet: Ideal for primary engine filtration (motorcycles, small engine filters, and vintage cars). It balances high dirt capacity with low restriction.
- 10 to 20 PPI Pre Filter Foam: Works best as an outer sleeve to catch heavy debris and mud before reaching the inner element.
- Dual-Stage Foam Sheets: Combines a coarse outer layer with a fine inner layer for maximum engine protection. Choosing the right pore density works similarly to selecting the best air filters for dust control in high-particulate environments.
Foam Materials to Avoid (Why Regular Sponge Foam Fails)
Never use household sponges, mattress padding, or a standard craft foam sheet. These materials lead to immediate engine issues:
- Closed-Cell Restrictiveness: Packing and craft foams feature closed-cell structures that block airflow completely, starving your engine.
- Chemical Degradation: Household sponges crumble when exposed to gasoline vapors, engine heat, and sticky filter oil. Disintegrated foam particles get sucked directly into the carburetor or intake manifold, causing severe mechanical damage.
| Foam Type | Cell Structure | Chemical Resistance | Suitable for Air Filters? |
|---|---|---|---|
| Reticulated Polyurethane | Open-Cell | High | Yes |
| Household Sponge | Mixed/Closed | Low | No |
| Craft / Packing Foam | Closed-Cell | None | No |
| Acoustic Foam | Open-Cell | Low | No |
Where to Buy Bulk Filter Foam Sheets
Sourcing industrial-grade foam stock ensures your custom filter lasts through multiple wash cycles. As an air filter material manufacturer, we produce bulk sheets for specialized applications, but high-quality raw stock is accessible through several outlets:
- Universal DIY Foam Sheet Packs: Automotive supply stores offer sheets like a Uni filter sheet designed for custom airbox dimensions.
- Direct Bulk Manufacturers: Purchasing bulk air filter foam replacement sheets directly ensures precise PPI pore count ratings and fuel-resistant specs.
- Powersports Retailers: Great for sourcing smaller quantities suited for a custom dirt bike filter or small equipment project.
Tools and Materials Needed to Make a Custom Foam Filter
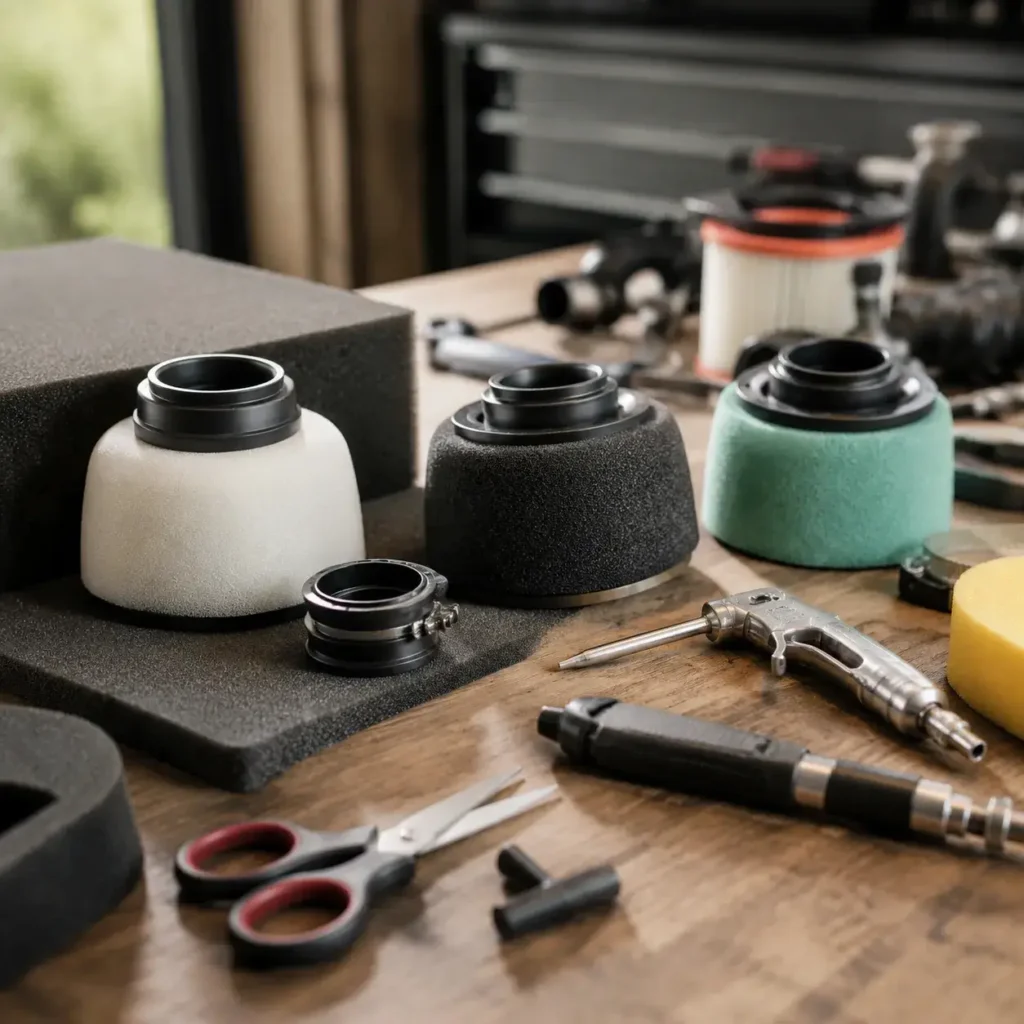
Building a custom air filter element requires the right gear. Using proper materials ensures your homemade filter flows freely while shielding your engine from abrasive dirt and debris.
Required Tools for Cutting and Shaping
Working with open-cell polyurethane foam requires clean, precise cuts. Dull blades pull and tear reticulated foam, ruining its porous structure.
- Ultra-sharp utility knife or razor blades: Essential for straight, clean cuts along your DIY foam sheet.
- Electric carving knife: The best option for slicing thicker polyurethane sheet stock cleanly without crushing the material.
- Heavy-duty shears: Perfect for trimming fine edges on a pre filter foam or small engine filter template.
- Cardboard and fine-tip marker: Used to trace exact dimensions before making a single cut.
Selecting the Right Adhesive for Seams and Joints
The adhesive you choose must withstand aggressive conditions—including gasoline vapors, engine heat, and tacky filter oil.
- Neoprene-based contact cement: The gold standard for seam bonding. It creates a flexible, fuel-resistant bond stronger than the foam itself.
- Specialized Loctite adhesive or industrial contact glue: Excellent for seam joins on motorcycle filter or dirt bike filter builds.
- RTV silicone: Useful for bonding foam to rigid filter bases, provided it cures completely before oil application.
- What to avoid: Skip standard hot glue or craft adhesives; gas fumes and oil will quickly dissolve them, causing air leaks.
Essential Air Filter Oil and Preparation Supplies
Dry foam cannot trap fine particulate matter on its own. Proper oiling and sealing supplies turn a simple piece of foam into a high-performance intake filter.
- Tacky foam filter oil: Designed specifically to capture micro-dirt while maintaining optimal airflow. Understanding how airflow dynamics work is just as important here as when comparing filters for resistance and efficiency in larger filtration systems.
- Sealable plastic bags and nitrile gloves: Make saturating and squeezing out excess filter oil mess-free.
- Airbox sealing grease: Heavy waterproof grease applied to the filter rim to guarantee a zero-bypass seal against the air intake cage.
- Filter cleaning solution: Solvent or specialized degreaser to prepare raw foam or clean reusable elements later on.
Step-by-Step Guide: How to Make a DIY Foam Air Filter
When we build custom air filter elements, precision is everything. Whether you are replacing a worn small engine filter, fabricating a custom motorcycle filter, or upgrading a dirt bike filter, following a clear assembly process guarantees optimal airflow and engine safety.
Measuring and Creating a Filter Template
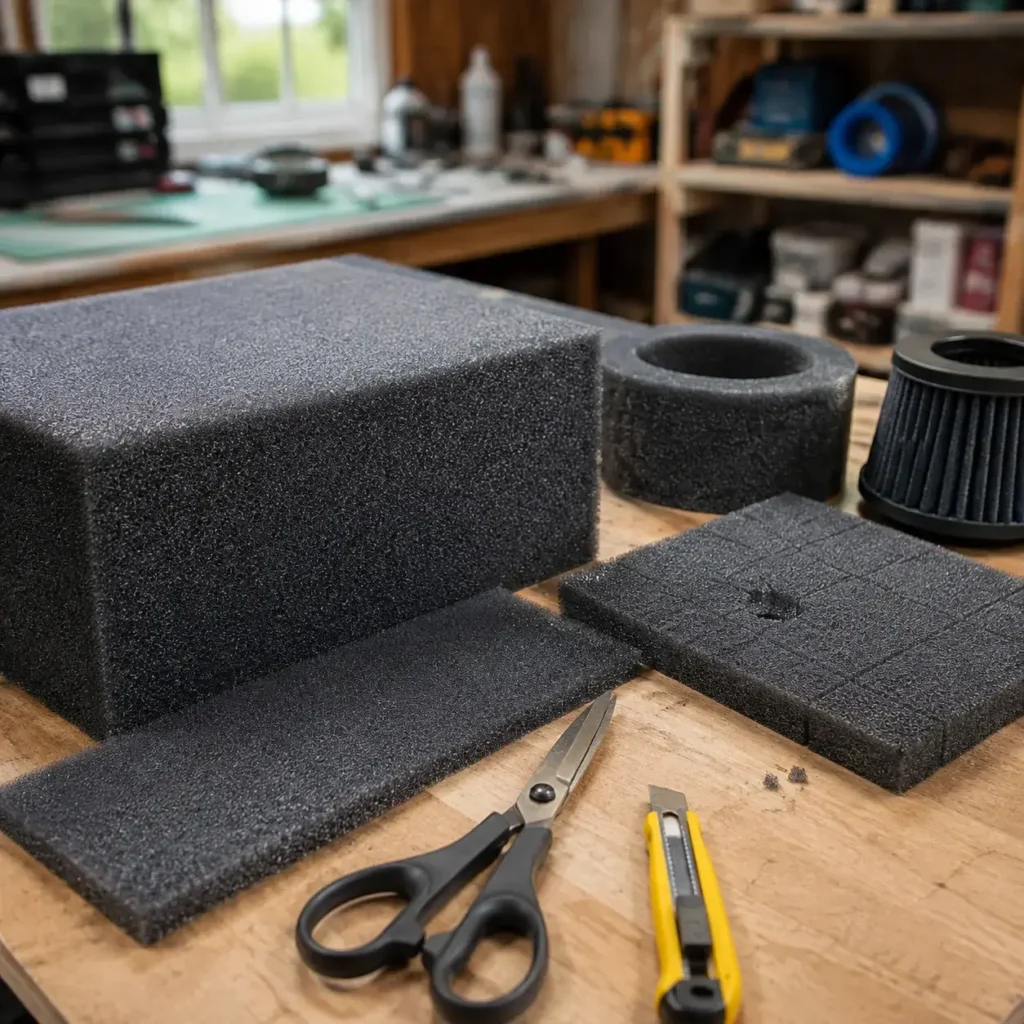
Accuracy determines whether your filter seals properly or lets raw dirt slice straight into your engine air intake.
- Remove and Clean the Frame: Pull out the old filter element and wipe down the mounting cage completely.
- Trace the Contour: Place the cage flat on heavy cardboard and trace its outer diameter with a marker.
- Add Seam Allowance: Add an extra 1/8 to 1/4 inch (3 to 6 mm) to your outer boundary. Because reticulated foam compresses, this extra material ensures a tight fit against the airbox walls.
Cutting and Shaping the Foam Material
Clean cuts preserve the foam’s structural integrity and prevent loose bits from entering your intake tract.
- Select Sharp Tools: Use an electric carving knife or a fresh razor blade. Do not use household scissors on thick foam sheets, as they pinch and tear the material.
- Cut in Single Strokes: Place your cardboard template over the foam sheet and slice smoothly around the edges without forcing the blade.
- Shape Inner Channels: If your filter design uses a two-stage setup (coarse outer layer, fine inner layer), cut the inner core slightly smaller so the layers nest neatly together.
Bonding and Sealing Foam Edges Correctly
Connecting foam pieces requires a flexible, chemical-resistant bond. Standard craft glues or hot melt adhesives fail quickly when exposed to oil and gas fumes. Reviewing the various types of air filters explained highlights how crucial a durable, seamless seam is for preventing dirt bypass.
- Apply Contact Cement: Spread a paper-thin layer of specialized foam glue or contact adhesive onto both joining faces.
- Allow Proper Tack Time: Let the glue air-dry for 2 to 3 minutes until it feels tacky to the touch.
- Press and Pinch: Press the seams together firmly, holding pressure along the entire joint for at least 60 seconds to lock the seam.
Fitting the DIY Foam Filter to the Airbox Frame
Always perform a dry test-fit before applying any filter oil.
- Mount to Cage: Slide your newly shaped foam element over the support frame. It should fit snugly without sagging or severe stretching.
- Inspect Sealing Surfaces: Ensure the base lip covers the entire contact plate of the airbox.
- Trim Minor Overlap: If you notice heavy bunching or puckering that prevents a flat seal, trim small bits of foam off the edges until the fit is completely flush.
How to Properly Oil and Install Your DIY Foam Filter
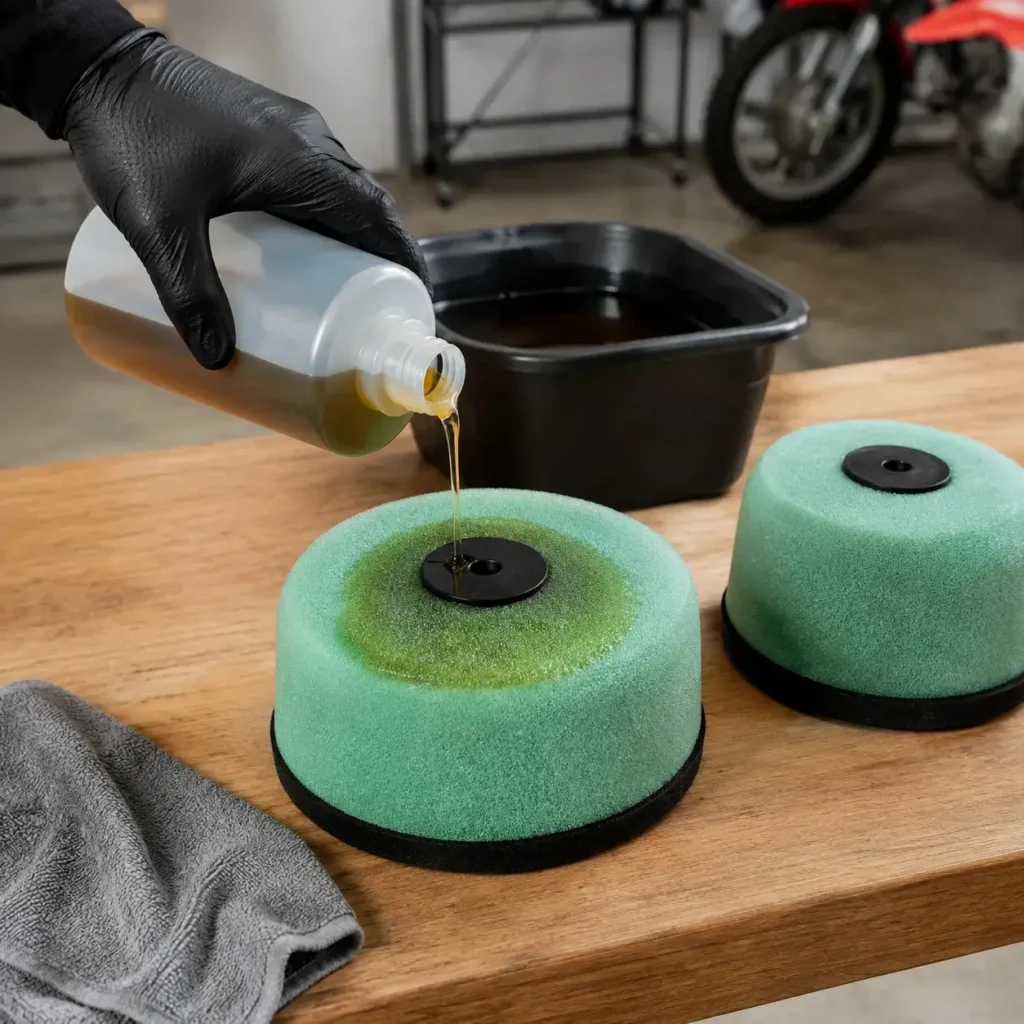
Why Air Filter Oil is Essential for Foam Filtration
Dry reticulated foam won’t stop fine dust particles on its own. While the open-cell structure traps larger debris, tacky filter oil does the heavy lifting by catching microscopic dirt, sand, and silt before it reaches your engine air intake. Without oil, fine grit slips straight through the foam cells, leading to premature cylinder and ring wear on your dirt bike filter, motorcycle filter, or small engine filter.
Proper oil distribution creates a sticky trap throughout the entire pore volume. However, over-oiling can cause liquid to migrate into the intake tract—a problem similar to discovering excess oil in my car air filter box when fluids are improperly applied.
Step-by-Step Filter Oiling and Squeezing Method
Oiling your custom air filter element requires total coverage without over-saturating the material:
- Apply the Oil: Pour high-tack filter oil evenly across the foam sheet or shaped filter.
- Work It In: Place the foam inside a clean ziplock bag and massage it thoroughly until the oil color is uniform throughout the entire foam depth.
- Squeeze, Don’t Twist: Squeeze out all excess oil using your palms. Never twist or wring the material, as twisting tears glued seams and damages open cell polyurethane foam.
- Let it Flash Off: Allow the oiled filter to sit in a well-ventilated area for 10 to 15 minutes so the oil solvents evaporate, leaving behind a sticky, uniform barrier.
Mastering this technique alongside knowing how to clean air filter step-by-step ensures maximum airflow and engine safety over long service intervals.
Ensuring a Tight Seal on the Airbox Base
Even the best-oiled filter fails if dirty air bypasses the edges. Creating an airtight, dust-proof seal at the airbox mating surface is critical.
| Sealing Step | Action Required | Key Detail |
|---|---|---|
| 1. Clean the Rim | Wipe down the airbox base | Remove all old grease, dirt, and oil residue completely. |
| 2. Apply Rim Grease | Run a bead of heavy filter grease | Spread grease evenly along the flat foam rim surface. |
| 3. Align & Seat | Press the filter onto the base | Ensure no gaps exist along corners or mounting pins. |
| 4. Fasten Securely | Tighten cage bolts or clips evenly | Apply firm pressure without crushing the foam perimeter. |
A properly greased rim guarantees that 100% of incoming air passes through your pre-filter foam layer.
Maintenance and Cleaning for Custom Foam Air Filters
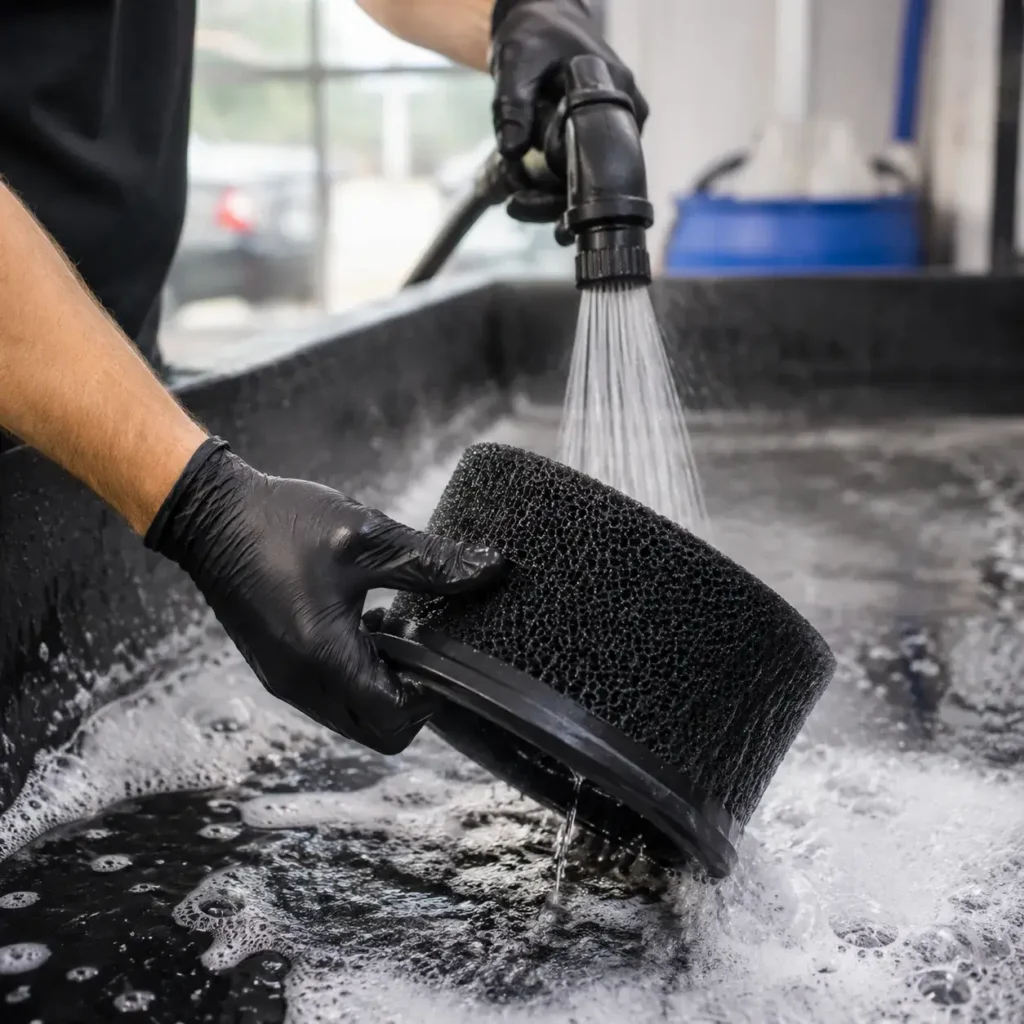
Proper maintenance keeps your custom air filter element performing like new and protects your engine air intake from harmful debris.
Safe Solvents and Cleaners for Foam Filters
Using the wrong solvent can dissolve open-cell polyurethane foam or wreck seam adhesives. Always stick to proven cleaning agents:
- Recommended: Dedicated filter cleaning solution, warm soapy water with grease-cutting dish soap, or kerosene.
- Avoid: Gasoline, acetone, lacquer thinner, or harsh industrial degreasers. These break down the glue joints and destroy the foam structure.
Washing and Air-Drying Procedures
Clean your custom filter systematically to avoid tearing the material:
- Submerge & Soak: Saturate the filter in your chosen cleaner to break down old filter oil and trapped dirt.
- Squeeze, Don’t Twist: Gently press the foam to release grime. Never wring or twist, as this tears the cell walls and seams.
- Rinse Thoroughly: Wash out all residual soap with cool, clean water until it runs completely clear.
- Air-Dry Completely: Press out excess moisture with a clean towel and let the foam air-dry naturally. Never use heat guns or high-pressure air.
Maintaining proper care directly affects particle capture and airflow, similar to how a proper micron rating for air filters dictates overall filtration efficiency.
How to Inspect for Damage and Know When to Replace
Regular inspection prevents unfiltered air from bypassing your filter element. Replace your setup immediately if you spot any of these warning signs:
| Damage Sign | Cause | Action Required |
|---|---|---|
| Crumbles or Flaking | UV exposure, age, or chemical breakdown | Replace foam sheet immediately |
| Seam Separation | Solvent damage or improper adhesive choice | Re-glue small seams or build a new filter |
| Loss of Elasticity | Material fatigue; foam fails to spring back | Perform a complete air filter foam replacement |
| Tears or Punctures | Sharp airbox edges or rough handling | Replace element before running engine |
Common Mistakes to Avoid When Making Foam Air Filters
Building a custom air filter element requires precision. As an air filter material manufacturer, we frequently see DIY builds fail due to simple material and assembly oversights. Avoiding these critical errors will protect your engine from premature wear and ensure maximum airflow.
Using Household or Packing Foam
Never substitute specialized filter foam with couch cushions, dish sponges, craft foam sheets, or shipping foam.
- Air Flow Restriction: Household foams feature closed-cell or semi-closed structures that restrict intake air, starving your engine.
- Material Disintegration: Standard foam lacks chemical resistance. Gasoline vapors and engine heat cause it to degrade rapidly, sending abrasive foam crumbs directly into your intake.
- The Right Material: Always use high-grade open cell polyurethane foam (reticulated foam) specifically engineered for air intake systems.
Using Glues That Dissolve in Gasoline or Oil
Choosing the wrong glue is a primary reason custom foam filters split at the seams during operation or washing.
- Chemical Breakdown: Hot melt glue, standard contact cement, and superglue dissolve when exposed to fuel backfire vapors or tacky filter oil.
- Engine Risk: A loose seam allows unfiltered dirt and debris to bypass the filter element completely.
- The Right Adhesive: Bond your seams using fuel-and-oil-resistant compounds such as specialized Loctite adhesive formulas or flexible RTV silicone.
Improper Oiling or Inadequate Pore Density
Even a well-built filter fails if you select the wrong pore density or skimp on oil application.
- Incorrect PPI Pore Count: Using a PPI pore count below 30 lets fine dust straight into your engine. Conversely, using foam denser than 80 PPI creates excessive air resistance.
- Running Foam Dry: Dry reticulated foam cannot trap micro-particles. Using standard motor oil is also a mistake, as it drains to the bottom of the airbox instead of holding dirt.
- The Right Method: Select the proper pore density (typically 30–60 PPI for primary filters) and fully saturate the foam with specialized, tacky filter oil before installation.